Create a Market Basket for Batch Rating
Overview
A market basket is a file generated by Contract Manager that contains hypothetical shipments within a range of parameters. These can be used by the batch rater to perform rate comparisons and cost analysis when actual shipment data is not available.
Process
To Create a Market Basket:
- Click Rates Quotes/Service.
- Click Generate a Market Basket.
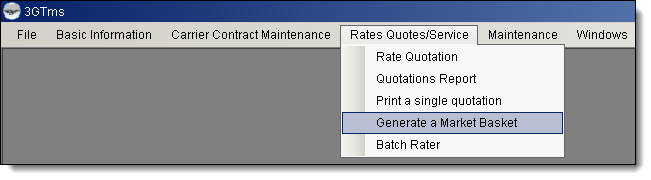
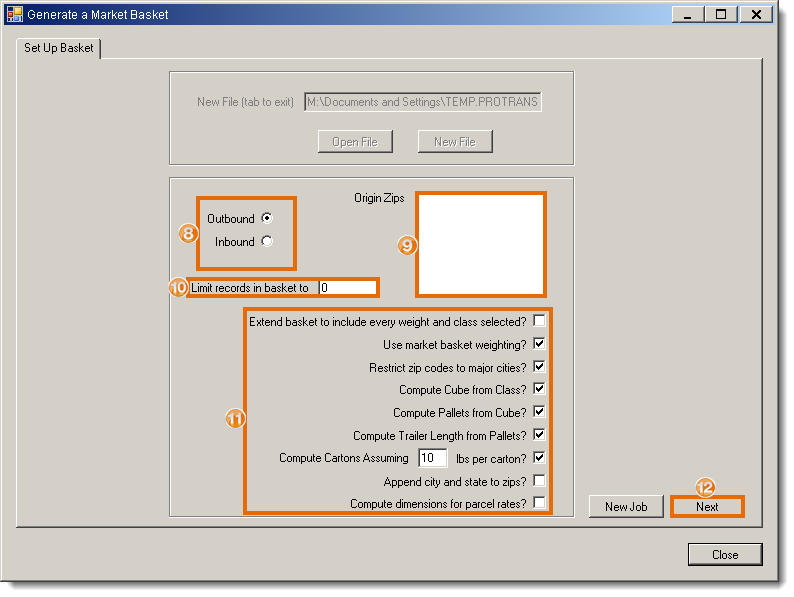
The Generate a Market Basket window opens to the Set Up Basket tab.
- Click New File.
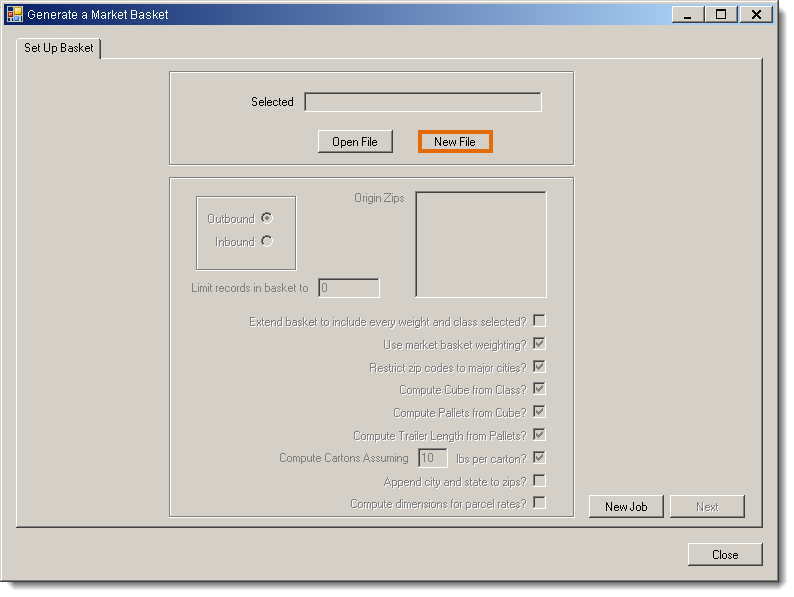
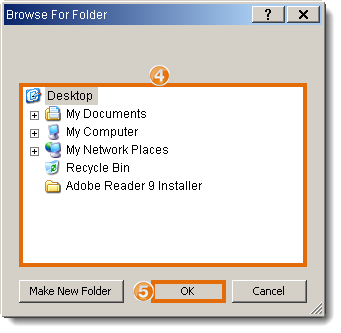
The Browse for Folder window opens.
- Browse for and select a location to save the market basket file. It is strongly recommended that a network folder be used, since the Citrix environment cannot access the user's local computer.
- Click OK.
- Enter a name for the New File.
- Click New File.
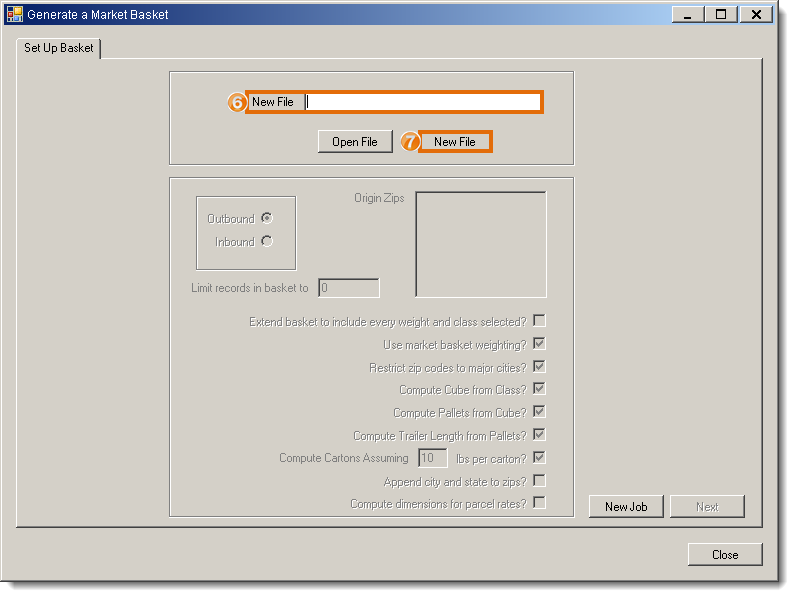
- Select if the shipments to be added to the market basket are Outbound or Inbound.
- Enter the Origin Zips (or Destination Zips for inbound shipments) to be used when creating shipments.
- Enter the number of shipments to be generated in Limit records in basket to.
- Select any additional options. See the table below for details on each option.
- Click Next.
| Option | Function |
|---|---|
|
Extend basket to include every weight and class selected |
By default, only the number of records specified above will be included in the market basket. Checking this option allows the requested size to be exceeded to ensure that all available classes and weights are incorporated for each ZIP pair. Select this option with care, since it overrides the requested size and can significantly increase the final size of the market basket. |
|
Use market basket weighting |
Automatically divides the total records so that each state has an equal number. For example, if two states are selected, one with 1000 ZIP codes and the other with 250, then market basket weighting assigns 50% of the records to the first state and 50% to the second. If the option is unchecked, the weighting is created by the number of ZIP codes; for the above example, the first state would have 80% of the records and the second would have 20%. If market basket weighting is not selected, the actual state weighting can be adjusted manually on the next page. |
|
Restrict zip codes to major cities |
By default, all ZIP codes in a state are used. However, checking this option directs the market basket to only use those ZIP codes associated with major cities. |
|
Compute Cube from Class |
Check this option to estimate cube from class. For example, class 100 is typically 9 pounds/cubic foot; therefore, a 1000 lb. shipment would be 111 cubic feet. |
|
Compute Pallets from Cube |
Check this option to estimate pallet count from cube. This option assumes a 40" x 48" pallet stacked 6 feet high, for 80 cubic feet per pallet. The above example would be estimated at 2 pallets. |
|
Compute Trailer Length from Pallets |
Check this option to estimate trailer footage used from the number of pallets. This option assumes 40" x 48" pallets that occupy 2 feet of trailer length apiece. |
|
Compute Cartons Assuming weight per carton |
Check this option to estimate the number of cartons given the provided weight for each carton. |
|
Append city and state to zips |
By default, the origin and destination are output as ZIP codes only. Checking this option adds the city name and state to each ZIP, but significantly slows down the creation of the market basket. |
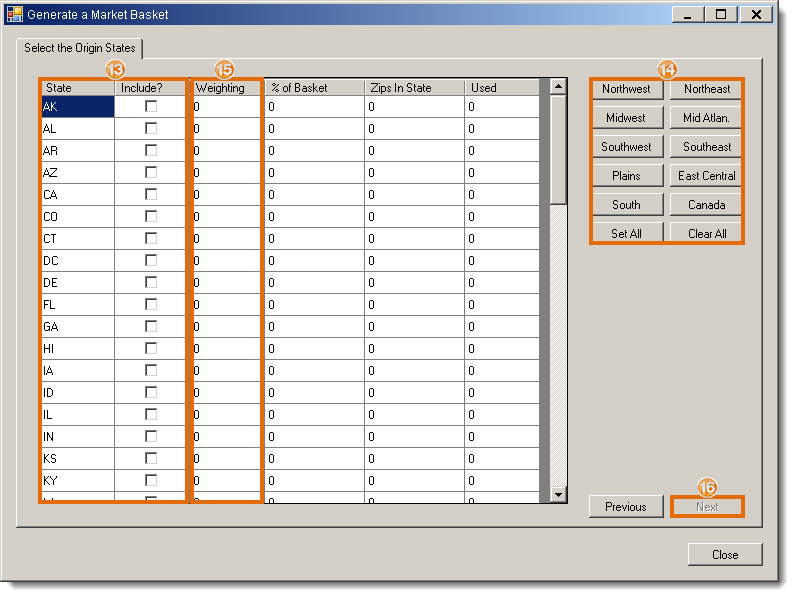
The Select The Destination States tab (or Select the Origin States tab for inbound shipment) opens.
- Select Include by each state to be used as a destination (or origin.)
- Click a region button to include all states in that region.
- Adjust the Weighting for each state as needed if "Use market basket rating" was not selected early. Increasing a state's weighting will cause its ZIPs to be used more frequently in the final market basket. Weighting will be ignored if there are fewer available ZIPs in the selected states than the number of records requested to be created for the market basket.
- Click Next.
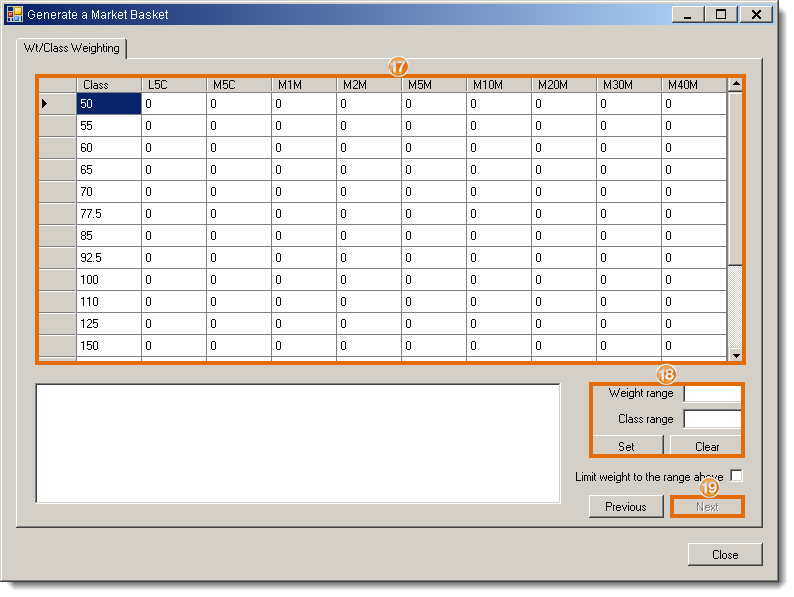
The Wt/Class Weighting tab opens.
- Enter a number in the cell of each class/weight combination to be used. Combinations with higher numbers will appear more frequently in the final market basket. A summary of the general distribution of class/weight pairs will appear below the table.
- Enter a Weight range and Class range and click Set instead of manually adding class/weight pairs if needed. Ranges should be in the form 50:150 and will be evenly distributed across all pairs.
- Click Next.
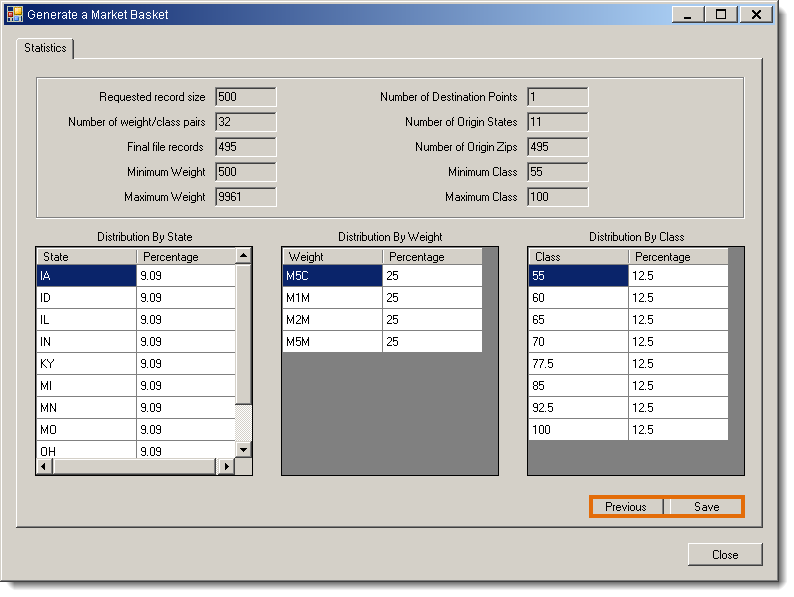
The Statistics tab opens. The general breakdown of what percentage of the records in the final market basket will be assigned to each state, weight, and class is listed here.
- Click Save to create the market basket with the listed distributions or Previous to modify the settings.
Result
The market basket file is saved and available for use in the batch rater.
Related Tasks