View Selected Shipments on the Tracking Map
Overview
The tracking map can be used to view specific shipments based on the user's search criteria. To view all loads and shipments regardless of criteria, see View All Loads on the Tracking Map.
When Should I View Selected Loads on the Tracking Map?
Depending on the amount of shipments associated with the customer account, the tracking map may return a large amount of information. When looking for more specific information, the user should narrow the search before viewing the map.
Prerequisites
Before you can view the tracking map, you must Log In to the Customer Portal
Process
To View Selected Loads on the Tracking Map:
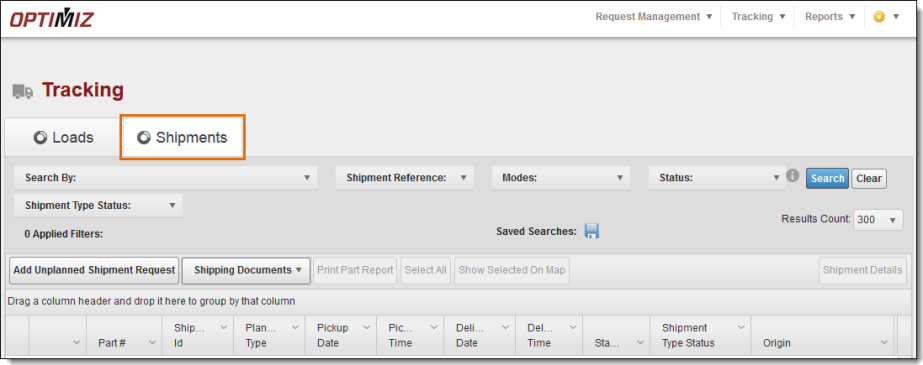
- Click Shipments.

- Search for the shipments. See Search for Loads or Shipments.
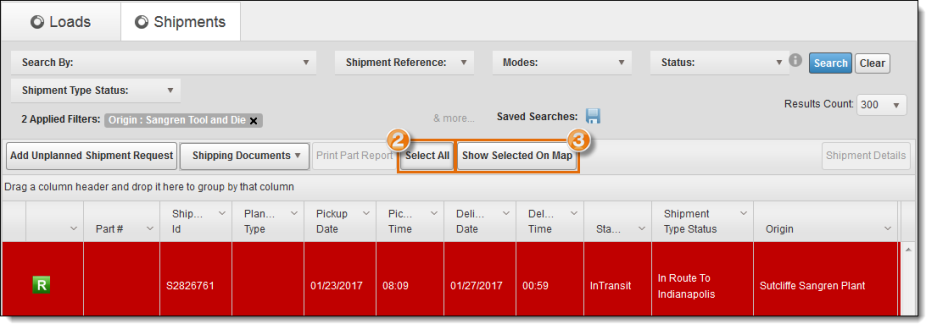
- Click the individual shipment in the search results grid or click Select All to view all results.
- Click Show Selected On Map.

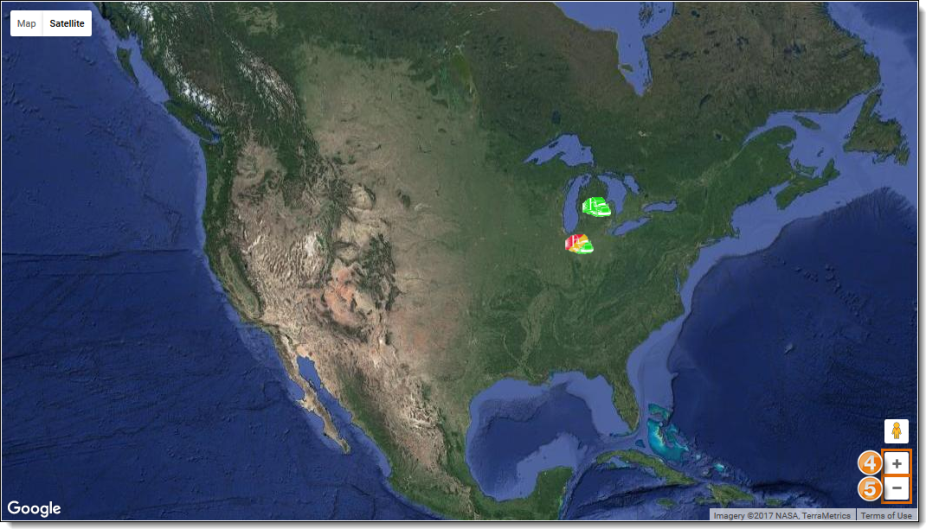
The tracking map opens.
- Click the + icon to zoom in to the map if necessary.
- Click the - icon to zoom out of the map if necessary.

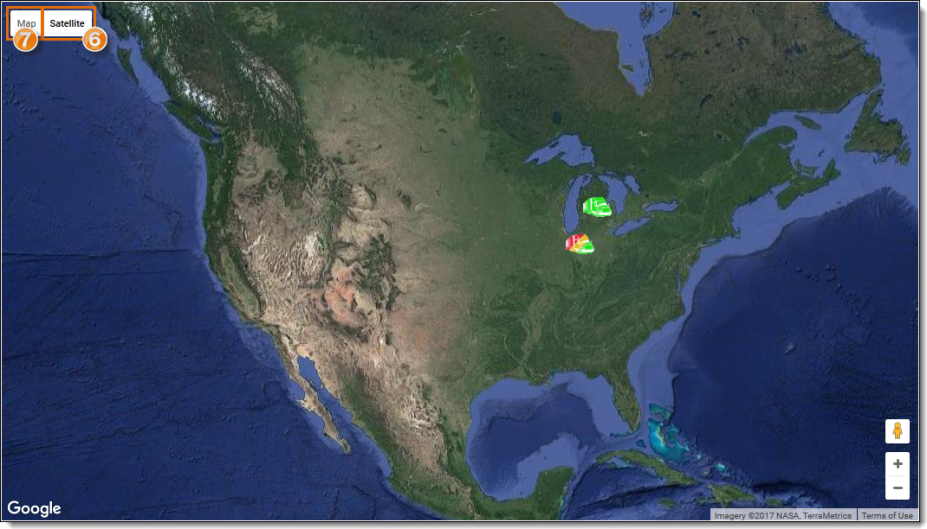
- Hover over Satellite and click Labels to add national and states boundaries if necessary.
- Click Map to change from a satellite image to a map with national and state boundaries if necessary.

Result
The tracking map displays only the user specified results.
Related Topics
Now that you know more about viewing selected shipments on the tracking map, you may want to read more about: