Create a Service Authorization Form (SAF)
Overview
Process
To Create a Service Authorization Form:
- Access
- Search for the shipment that the SAF will be created from. See Search for a Shipment.
- Click SAF.
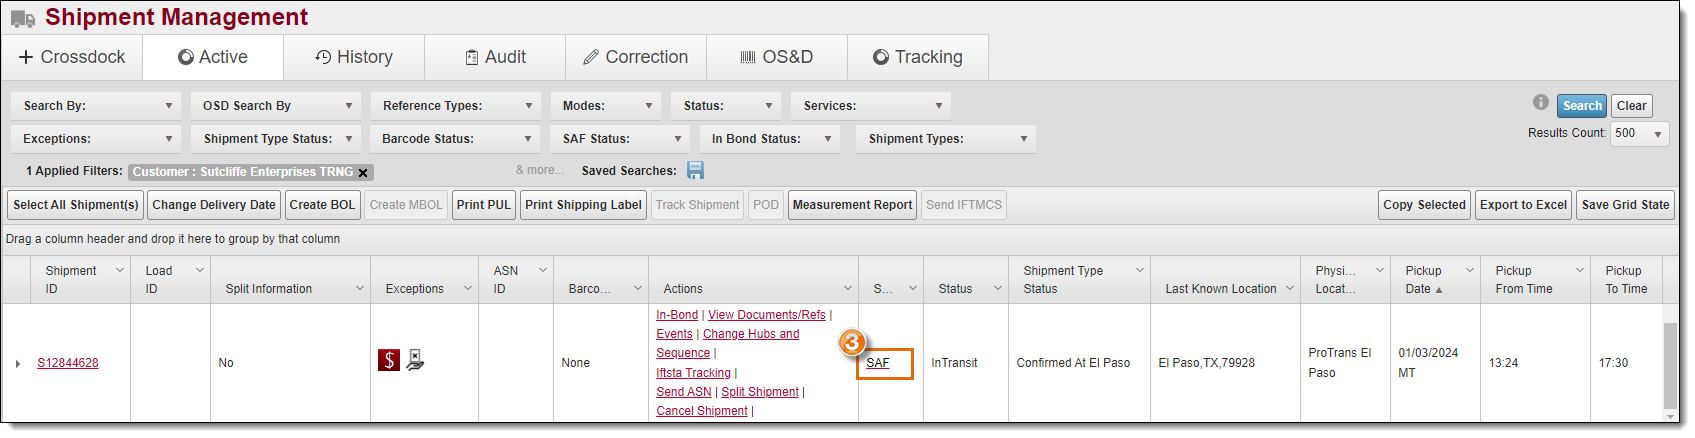
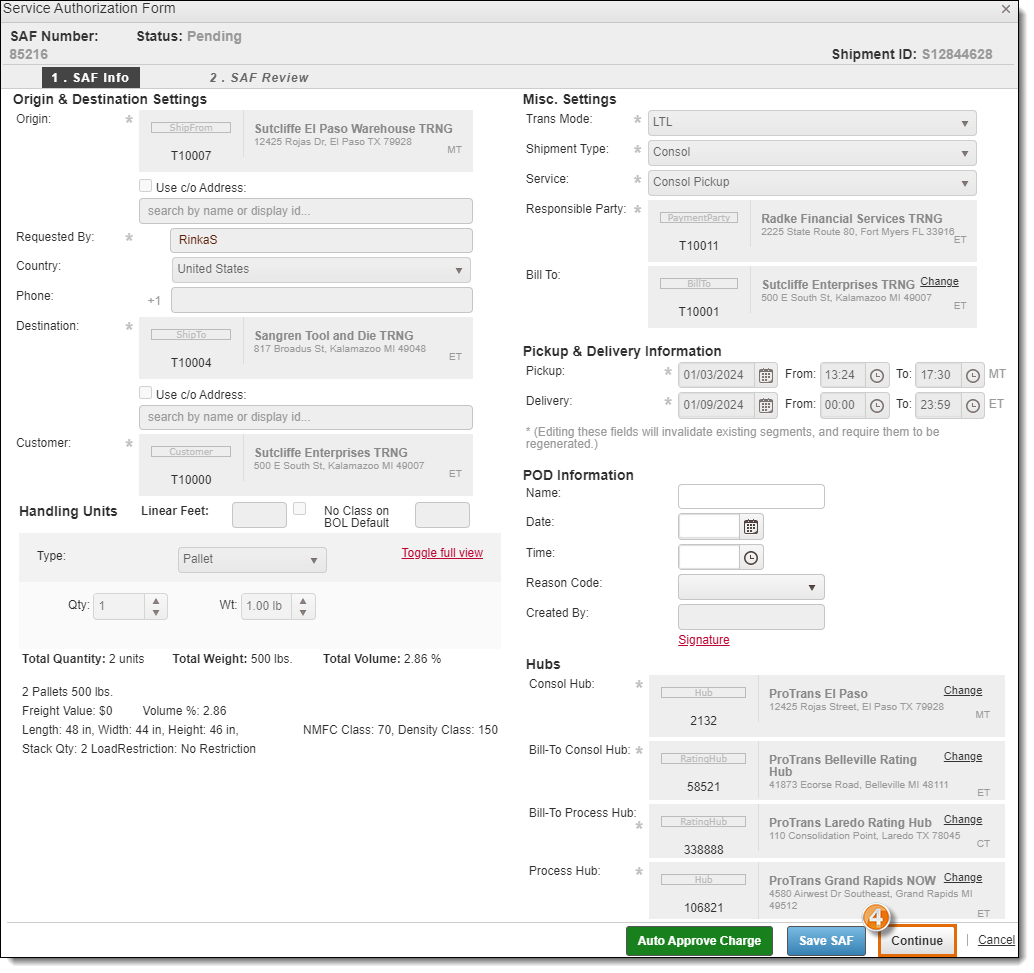
The SAF Info page opens.
- Click Continue.
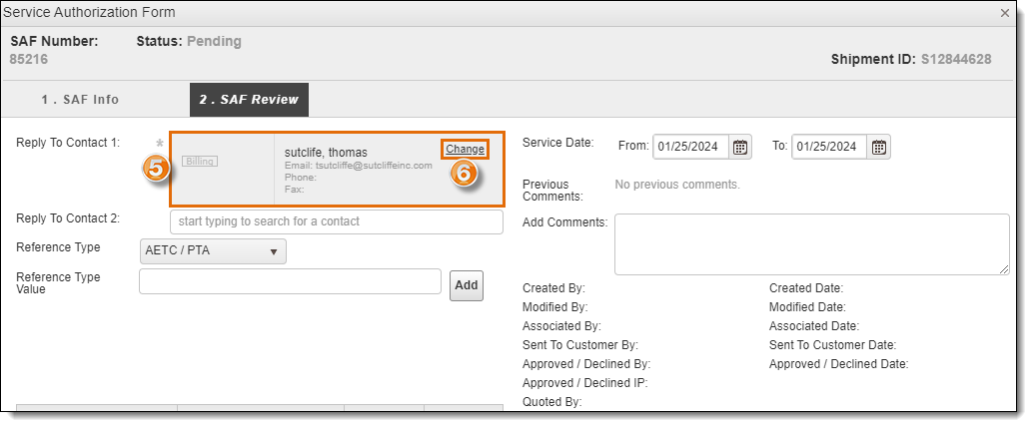
- Reply To Contact will default to the contact from the Customer entity.
- If you need to enter a different contact than the one automatically selected, click Change. If you need to update an existing contact, see Add or Edit a BillTo's Contacts for details.
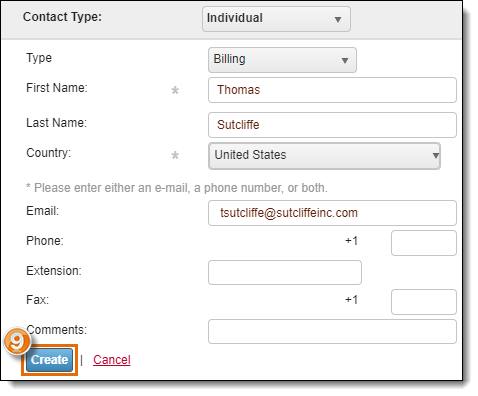
- Type the name of the person who needs to approve the SAF and select the name from the dropdown list.
- If no contact is returned, click Create New Contact.
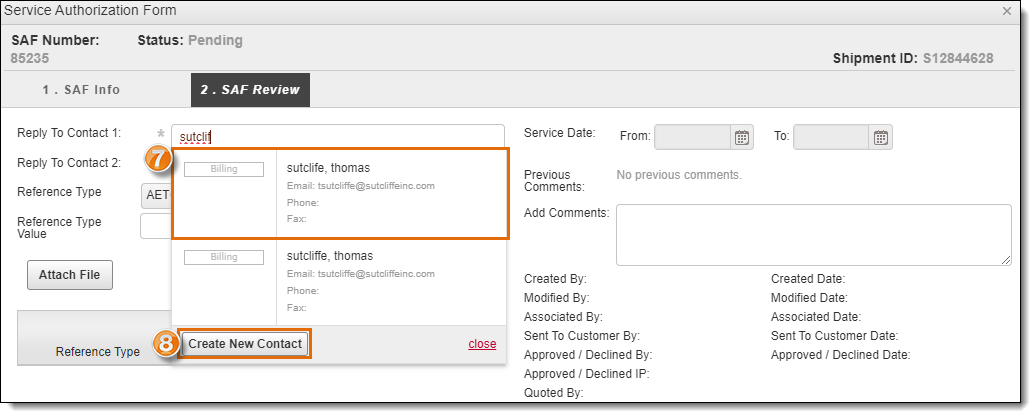
- Enter the contact information then click Create.
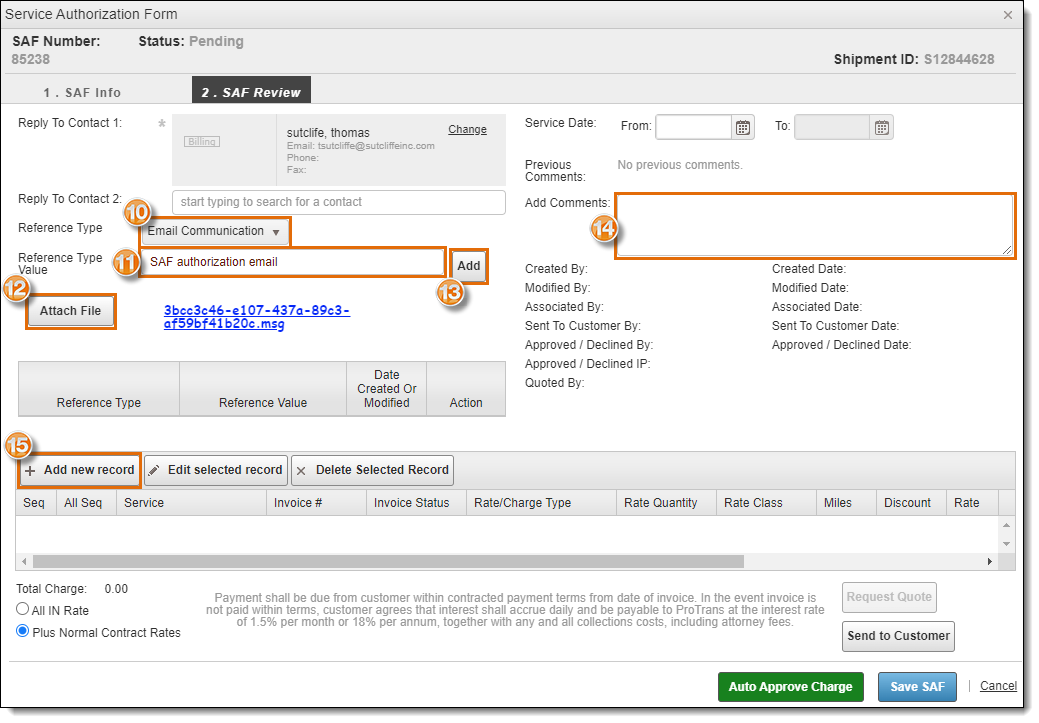
Many customers require specific reference numbers like an AETC number or a copy of an email containing the authorization for a shipment to be moved before they pay an SAF. These references can be added during SAF creation.
- Select the type of reference from the Reference Type dropdown.
- Enter the reference number or a title for the file to be uploaded in the Reference Type Value field.
- Click Attach File to browse your computer and select a file to upload.
- Click Add to upload the selected file and save the reference entered.
- Enter any comments in the Add Comments box.
- Click Add new record.
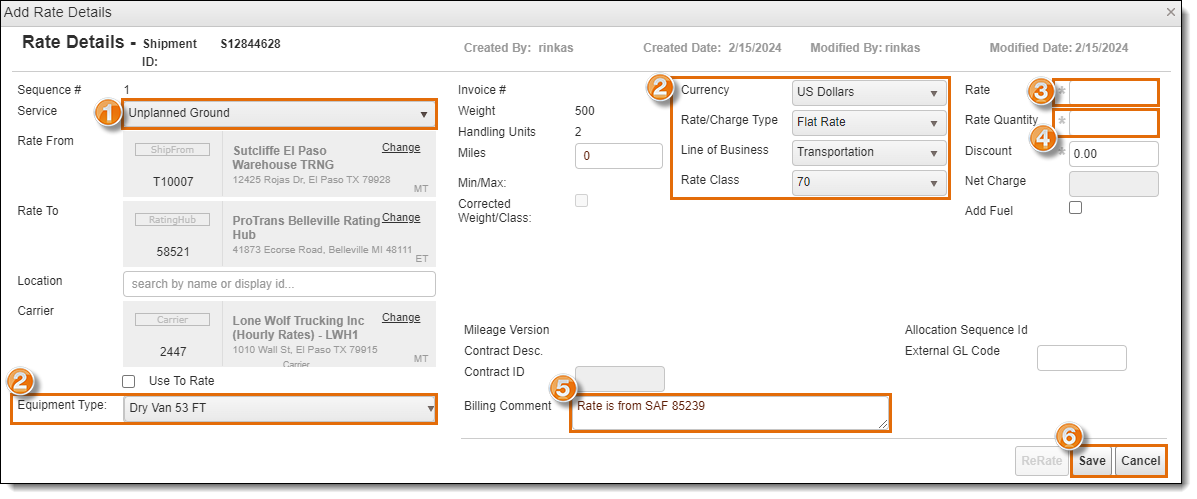
The Add Rate Details window will open.
Add Rate Details
- Click the Service dropdown menu to specify the type of service.
- The Equipment Type, Currency, Rate/ChargeType, Line of Business, and Rate Class fields will auto-populate based on your selection in step 1. If you are unsure if you need to change these, or any other options, check with your supervisor.
- Enter the Rate.
- Enter the Rate Quantity.
- Enter any comments in Billing Comment.
- Click Save to save the rate details or Cancel to exit without saving.
The Add Rate Details window will close.
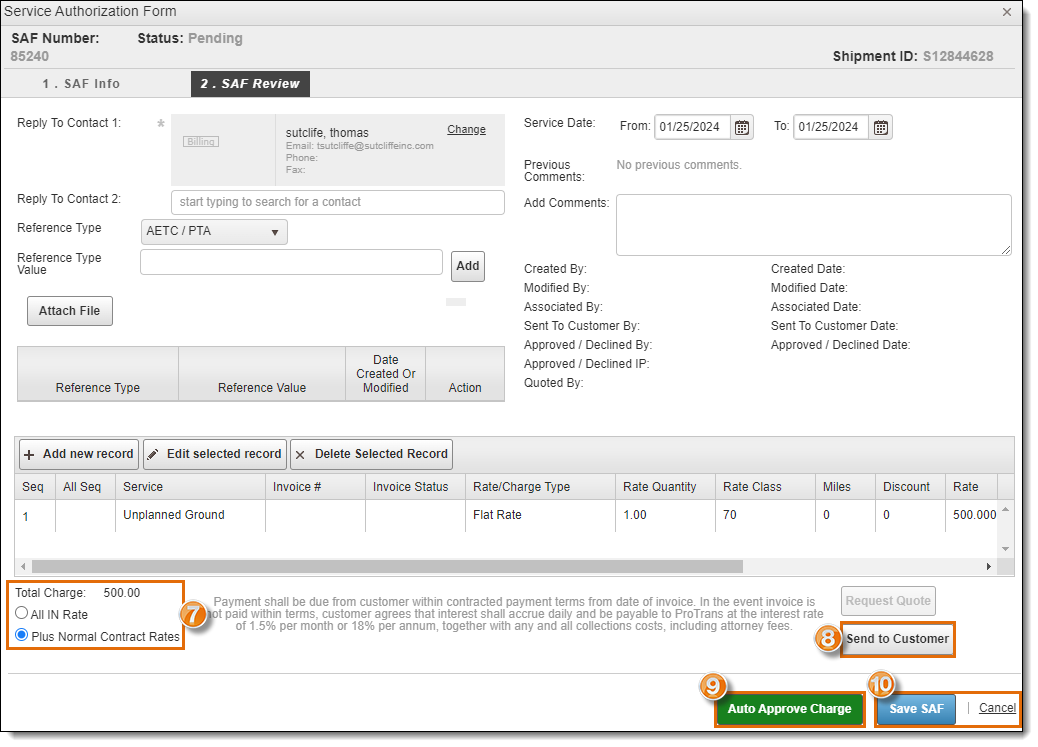
It is critical to select the correct Rate Type for an SAF. Selecting the wrong Rate Type can cause ProTrans to lose money by billing the customer incorrectly. Typically, you should select Plus Normal Contract Rates for shipments that are being expedited or redirected after pickup because the contracted rates for the pickup still need to be accounted for. This means you should not change the Service Type on the shipment, as that will affect the cost of the initial pickup. For shipments that have not yet been picked up, you will typically select All IN Rate. Check with your supervisor if you are not sure which option to select.
- Select the Rate Type. All IN Rate will replace the original contracted rate. Plus Normal Contract Rates will add the charges in addition to the standard contracted rate.
- Click Send to Customer to send the request to the customer via email. Optimiz will automatically save and close the SAF.
- Click Auto Approve Charge to automatically approve the SAF instead of sending it to the customer. This should only be used if you have previous authorization in writing from the customer.
- Click Save SAF to save the SAF or Cancel to exit without saving.
Result
The Service Authorization Form (SAF) has been created and is pending customer review.