Validate a Shipment
Overview
Prerequisites
Before you can validate a shipment:
- It must already exist.
- The shipment must require validation. Shipments that do not require validation cannot be validated. See Define a Shipment Action by Type for information on configuring the validation requirement for specific shipments.
Process
To Validate a Shipment:
- Search for the shipment to be validated. See Search for Shipments for details.
- Click the Pieces for the shipment to be validated.
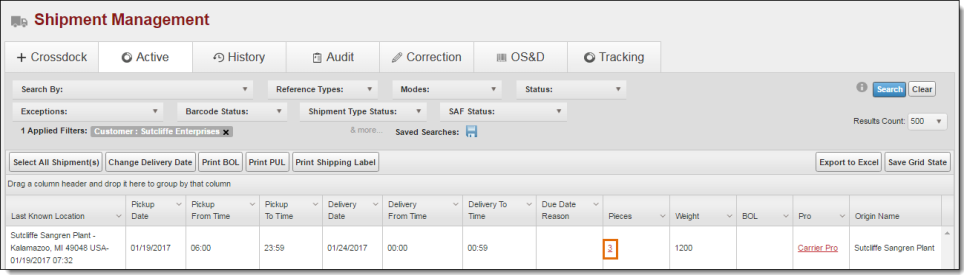
The Validate Shipment Information page opens.
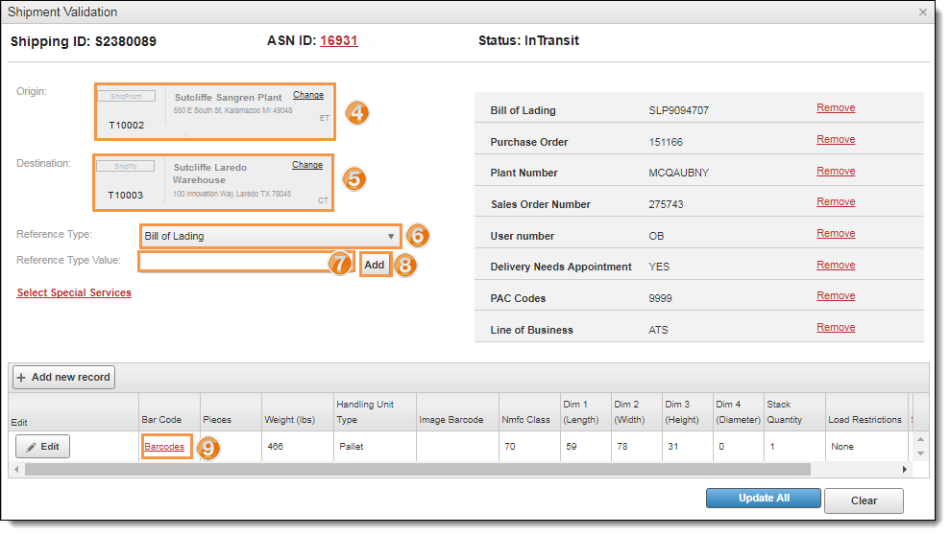
- Confirm the Origin of the shipment. If needed, click Change and select a new ShipFrom entity.
- Confirm the Destination of the shipment. If needed, click Change and select a new ShipTo entity.
- Select a Reference Type if one must be added to the shipment.
- Enter the Reference Type Value if one must be added to the shipment.
- Click Add to add the selected Reference Type to the shipment if needed.
- Repeat steps 6 - 7 for any additional Reference Types to be added to the shipment.
- Select Barcodes to view any associated barcodes or assign barcodes if none exist.
- Confirm the information for each handling unit for the shipment.
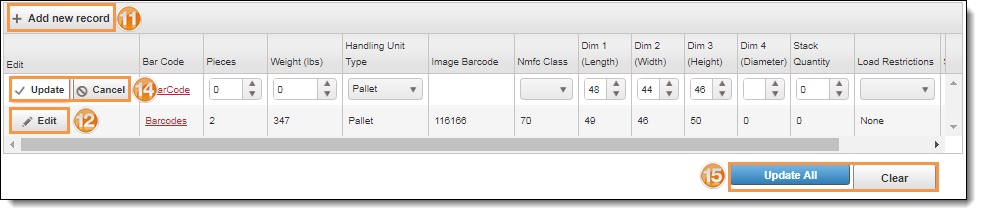
- Click Add New Record to add an additional handling unit with different dimensions or class if needed.
- Click Edit to modify the handling unit's information if needed. Scroll the handling unit information grid to the right if the Edit button is not visible.
- Make any needed changes to the handling unit's information after clicking Add New Record or Edit.
- Click Update to save changes made to a handling unit's information if needed or Cancel to discard them. Scroll the handling unit information grid to the right if the Update and Cancel buttons are not visible.
- Click Update All to validate the shipment, Clear to undo all changes, or Close to return to Shipment Management.
Result
The shipment has been validated.